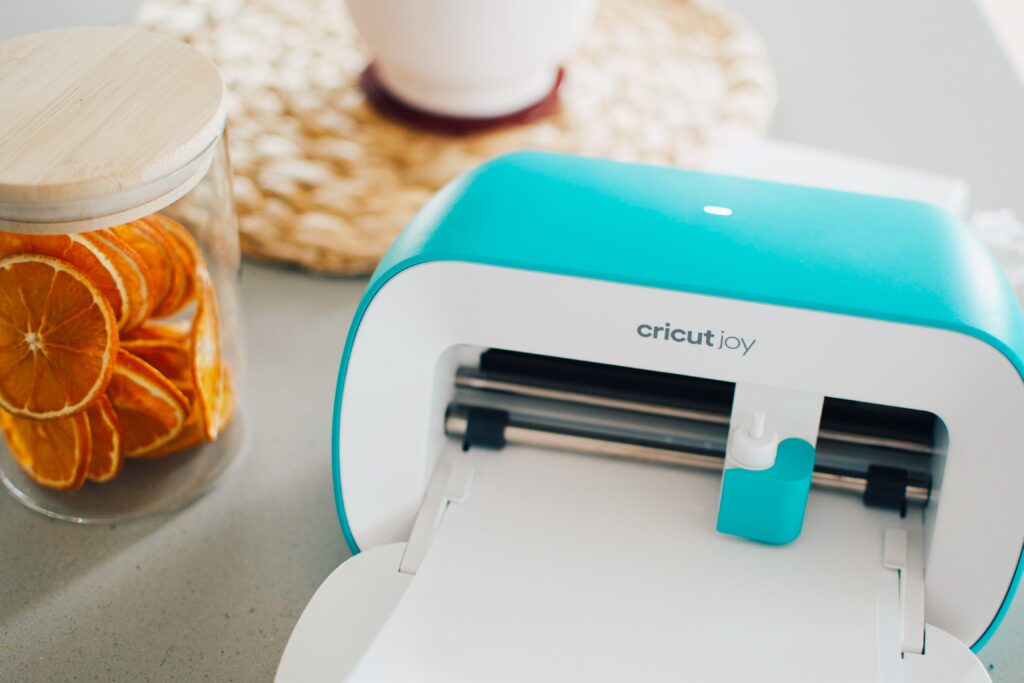
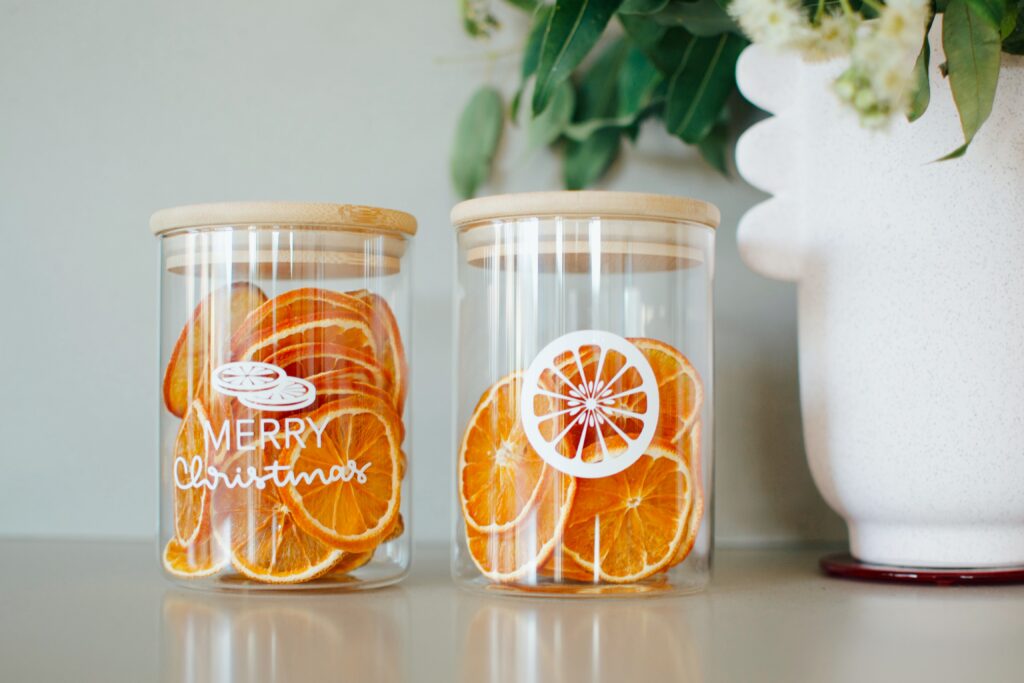
Hello lovely people. I hope you’re having a beautiful day. So, this post is all about making labels with a Cricut Joy – or more specifically – how to make food labels with a Cricut. These were actually the first thing I made with my new Cricut Joy, and with a bit of trial and error – I love how they turned out.
Making food labels with a Cricut
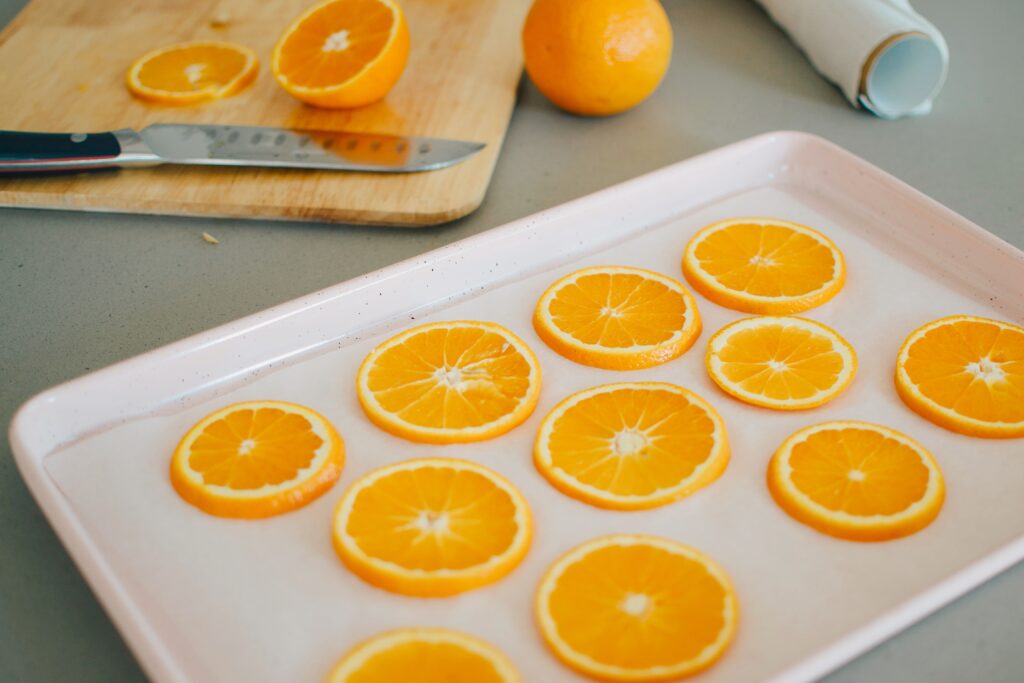
Just before Christmas, I decided to make use of my new oven and the crappy un-Australian weather to get crafty. I had a kilo of oranges and my new Cricut Joy (gifted) so I figured – why not?
I wanted to make some labels, but instead of labelling one of the millions of jars I already own, I figured I’d also create some edible gifts – as you (I?) do.
But first, a disclaimer.
Before I ‘found organisation’ I couldn’t have dreamed of having the time or energy to do this in the week before Christmas.
When there’s no room to move, there’s also no room to be creative – and feeling like that sux. But there’s a better way. We can talk about that later though.

Would you like to know how to make labels with a Cricut Joy?
I used my Cricut to make labels for edible gifts, but you can literally use it for anything from pantry organisation to wall decals.
If you would like to know how to dehydrate oranges I have created a tutorial for that – but you’ll have to follow that link over to Patchwork Cactus.
But just FYI – it’s super simple and makes your house smell amazing.
Now for the labels.

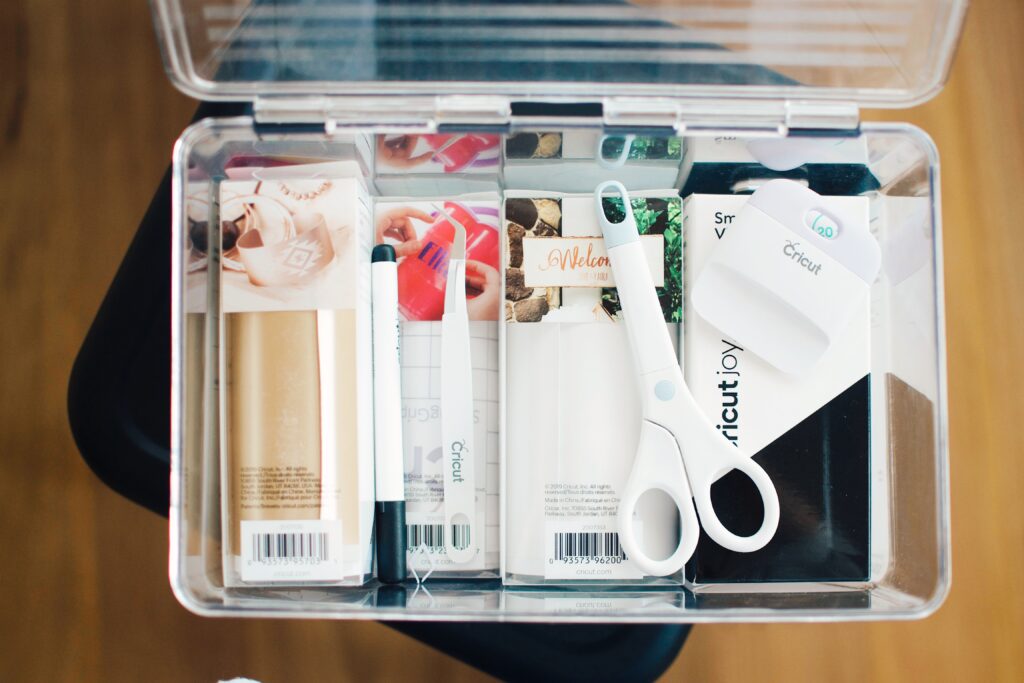
Materials
- A Cricut Joy
- Cricut smart vinyl (permanent)
- Cricut transfer tape
- Scissors
- Glass Jar
- Ruler
- Smart phone with Cricut Joy App installed
I love that you can just use the smart vinyl to make labels with the Cricut Joy and don’t need a cutting board – it’s such a game changer.

Directions
- First, measure your jar and decide what size you want the label.
- Next, create a design using the Cricut joy app. I used the ‘design your own vinyl stickers and decals’ option. And then searched ‘Cricut Images’ by clicking the little hot air balloon shape.
- When I had found what I wanted, I sized them correctly and clicked ‘done,’ then chose my material (smart vinyl – permanent,) connected my phone to the joy and started printing.
- The app is super easy to use but if you have any issues, this is a great explainer video.
- Cut your label off the roll and remove all the vinyl that’s not needed and stick the clear transfer tape over.
- Finally, make sure your jar is clean and dry before transfering the food labels onto the jar.

Tips for creating beautiful food labels with a Cricut Joy
- Buy this container from Kmart. Can we take a moment to appreciate how well the smart vinyl fits? It brought me a lot of joy.
- Keep it simple – choosing an intricate design is not a great idea unless you’re creating a really large sticker or label. It’s too hard to get a clean cut when the design is detailed.
- Make sure your vinyl colour is a different colour than the food in the jar (if the jar is clear.) White pantry labels are beautiful, but they are rubbish on flour cannisters.
- Use the right transfer paper – I had one that’s meant for glitter vinyl – it doesn’t work with the regular stuff.
- Have fun – don’t take it too seriously. The labels are generally for your own reference so if you can bring yourself a little joy with an in-joke, do it.
Not sure how to get your life and home to a place of calm, simplicity and joy? Maybe consider reaching out to a professional organiser. For people on the Central Coast (NSW, Australia) get in touch today at findingorganisation(at)gmail.com